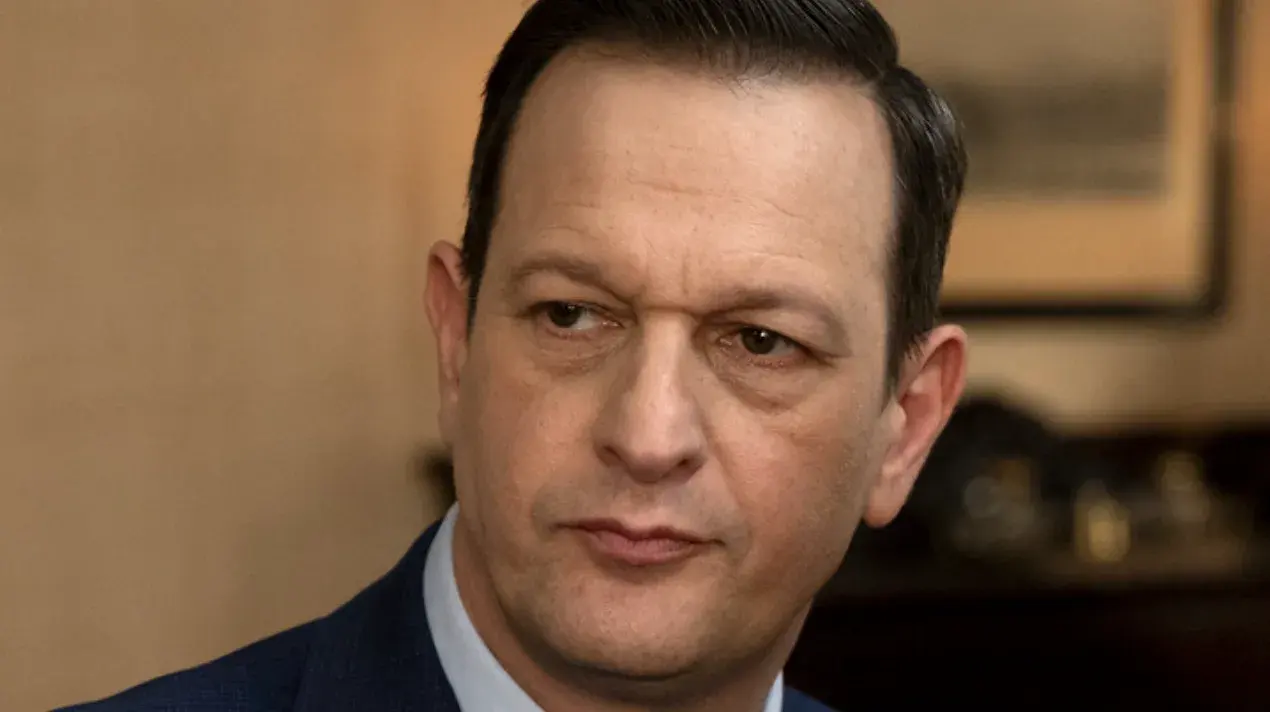
The Blame Season 1 Recap: What Happened to Sophie Madsen?
The Blame begins as an investigation into the death of teenage figure skater Sophie Madsen, but ITV’s six-part drama quickly becomes something much more complicated. DI Emma Crane and DI Tom Radley discover that Sophie had already asked Wakestead Police for help before she died, and what happened inside the station eventually proves just as…
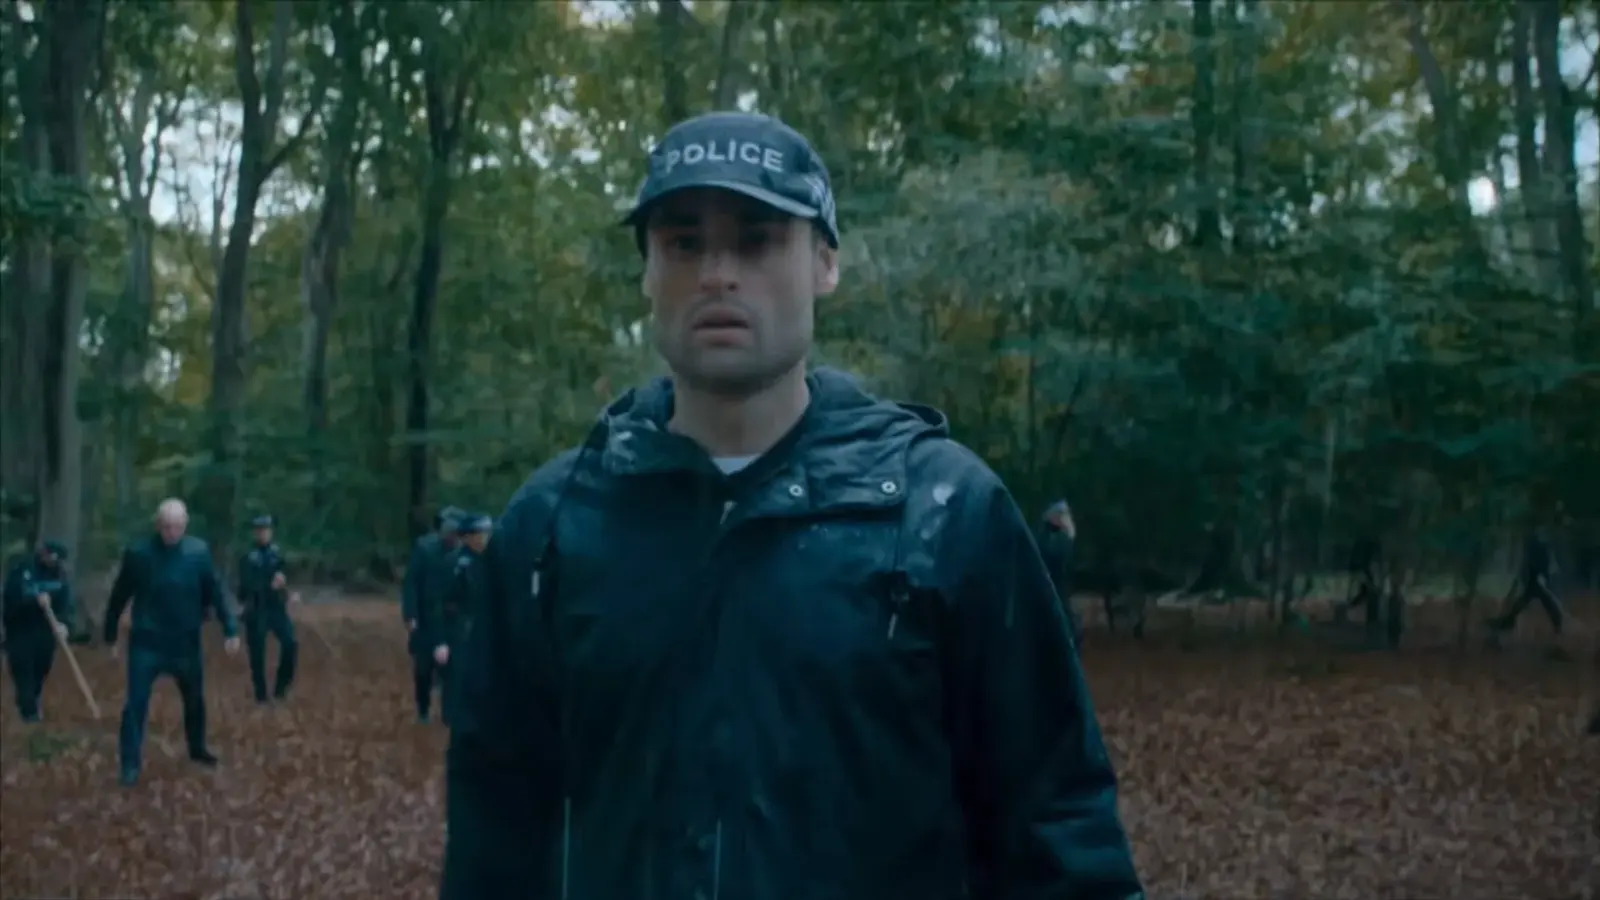
The Blame begins as an investigation into the death of teenage figure skater Sophie Madsen, but ITV’s six-part drama quickly becomes something much more complicated. DI Emma Crane and DI Tom Radley discover that Sophie had already asked Wakestead Police for help before she died, and what happened inside the station eventually proves just as important as anything found at the crime scene.
By the time Emma finally understands Sophie’s last day, the investigation has exposed multiple layers of misconduct and forced her to question Tom, the detective she trusts most and the man with whom she has secretly begun a relationship. The season gradually moves through several convincing suspects before revealing that Sophie’s death is connected to secrets that have been buried inside Wakestead for years.
Related: The Blame Season 1 Ending Explained: Who Killed Sophie Madsen?
Sophie Madsen’s Coach Becomes the First Suspect
Sophie is reported missing before her body is discovered in Dankworth Forest. Emma and Tom quickly learn that the 16-year-old had recently been removed from her skating team by coach Kyle Frasier.
The reason is much more serious than poor performance. Frasier had developed feelings for Sophie and made an inappropriate advance while driving her home from a competition. Sophie rejected him, and he subsequently removed her from the team.
There had already been an opportunity for Wakestead Police to intervene. PC Callum Drummond once encountered Sophie visibly distressed inside Frasier’s car but failed to investigate properly, while Sophie later came directly to the station to report what Frasier had done.
DC Joel Stevens and DC Douglas James conducted that interview. Instead of treating her complaint responsibly, they humiliated Sophie while recording the conversation, creating one of the earliest signs that Wakestead’s internal culture is part of the wider problem.
Emma and Tom later discover the footage on an SD card. Around the same time, Emma learns about a private Wakestead group chat filled with degrading conversations and inappropriate material involving women who had come into contact with the police.
DCI Kenneth Walker is one of the administrators. Emma wants the station investigated, while Tom argues that they should first secure the case against Frasier, and their professional disagreement develops alongside a secret romantic relationship.
Tom Radley Becomes a Suspect
Frasier initially looks increasingly guilty. He lied about being home when Sophie died, is left-handed like the person investigators believe caused Sophie’s fatal injury, and had purchased a necklace that appears connected to Sophie.

The case soon changes direction. Frasier admits the necklace actually belonged to another skater, Amalie Rafkins, with whom he had begun a relationship, and Amalie provides him with an alibi.
Frasier’s mother also explains why his car had been seen on the road. He is cleared of Sophie’s death, although his conduct toward Sophie still has serious consequences.
Then Emma discovers dashcam footage showing Sophie getting into Tom’s car shortly before she died. Tom never disclosed the meeting, and the discovery immediately turns one of the lead investigators into a suspect.
Why Was Sophie in Tom’s Car?
Tom tells Emma that Sophie approached him after the StreetSafe event because she wanted to discuss misconduct at Wakestead. She remembered Tom being kind to her during an earlier encounter outside the station and believed he might actually listen.
Tom says Sophie told him what Stevens and James had done during her interview. He offered to help her make a formal complaint, but Sophie wanted time to think, and according to Tom, he then dropped her near Barton Drive and never saw her again.
Several details make his story questionable. Tom had his car cleaned, concealed the meeting and lied about returning to the station for his wallet, all of which make Emma wonder what he is hiding.
Other evidence initially supports him. CCTV places his vehicle near Barton Drive at the time he claims, his phone records do not place him near Dankworth Forest, and forensic tests find no trace of Sophie on his clothing.
More importantly, Emma listens again to Sophie’s incomplete 999 call. A police radio can be heard in the background, confirming that someone connected to Wakestead was with Sophie near the end.
Emma Suspects a Predator Inside Wakestead
Sophie’s former boyfriend, Theo Asaro, provides the clue that widens the investigation. Theo says Sophie had discovered that someone at Wakestead was targeting vulnerable women outside the station.

Sophie had described the man as a “monster” and claimed she had found one of his victims. Emma and DC Lewis Brimah begin quietly investigating their own colleagues as they try to understand what Sophie had uncovered.
They trace Sophie’s movements and discover that she had tried to contact Kacy Denson, a woman who previously reported domestic abuse at Wakestead. Kacy explains that someone claiming to be a detective contacted her afterward, knew private details from her case and offered help.
She later lost consciousness after arranging to meet him and believed she had been targeted. Another woman, Marissa Andrei, describes an almost identical pattern, and her case becomes especially significant because Tom had previously investigated it.
The Amber Dodds Case Changes Everything
Questions about one of Tom’s older investigations also begin resurfacing. Amber Dodds had previously complained about Stanley Vogel, who was eventually convicted after evidence appeared during a later search.
The IOPC begins questioning whether Tom had crossed professional lines to secure the case. The Sophie investigation then uncovers something much bigger when Emma finds images in Sophie’s printer history.
The photographs appear to be copies of Polaroids. Emma identifies Kacy and Marissa among the women, but another photograph is of Amber.
That discovery changes the meaning of the old case. Vogel may have been responsible for other serious misconduct, but he was not responsible for what happened to Amber, and someone connected to Wakestead was.
Sophie had found evidence belonging to the real predator. Her private investigation was therefore much more dangerous than Emma and Tom initially understood.
Sophie Had Been Inside the Predator’s House
The series gradually reconstructs Sophie’s investigation. After her terrible experience reporting Frasier, Sophie began receiving private messages from someone claiming to be an officer who knew about cases involving vulnerable women.
That man was digital forensics specialist Neil Shergill. Sophie eventually went to Shergill’s home, but she became suspicious of the drink he offered and only pretended to consume it.
While there, she discovered his collection of photographs. Sophie secretly photographed several faces and escaped before Shergill could harm her.

She then began trying to identify the women in those images and prepared to expose him. That is why she approached Tom at the StreetSafe event, believing a senior officer who spoke publicly about protecting women might help her.
Kapil Manek Plants the Phone
Tom remains under public suspicion even as Emma becomes increasingly convinced he is innocent. A burner phone matching Sophie’s is discovered at the home of Tom’s grandfather, making the case against him look even stronger.
Emma and Lewis trace the purchase to Kapil Manek, Tom’s former partner. Kapil had paid another man to buy the phone and then arranged for it to be planted.
His motive is revenge rather than justice. Years earlier, Kapil had been bullied at Wakestead and later forced to resign after his paperwork was manipulated, and he blames Shergill for altering the records.
Kapil also believes Shergill did it to help Tom. That suspicion eventually becomes one of the most important details in the entire investigation because Tom has repeatedly claimed that he barely knows Shergill.
Emma Exposes Neil Shergill
Marissa receives another message from her original attacker after speaking with Emma. The message gives Emma the private number he uses, but she cannot identify its owner quickly.
Emma turns to Shergill for unofficial technical help. It is a dangerous mistake because Shergill immediately realizes that Emma has found his number.
He incapacitates her, and the truth about the serial predator is finally confirmed. Sophie had correctly identified him, and the photographs at his home document a much larger pattern.
Before losing consciousness, Emma manages to alert Tom. He reaches Shergill’s home and saves her, while Shergill dies during the confrontation.
Tom is later cleared because his actions are judged necessary to protect Emma. Police recover more evidence from Shergill’s home, and altered records reveal that Sophie had visited him before she died.
At that point, everyone assumes Shergill also caused Sophie’s death. The case appears to be over, but one unresolved detail keeps troubling Emma.
Emma Realizes Tom and Shergill Had a Secret
Kapil’s account does not make sense to Emma. If Tom barely knew Shergill, why would Shergill have been willing to destroy another officer’s career for him?
Emma revisits Marissa’s original case and discovers that Tom had obtained CCTV from the bar where Marissa met her attacker. Tom had recognized Shergill years earlier and knew exactly who Marissa had encountered.

He simply never reported him. Tom later admits that he convinced himself Marissa’s experience was an isolated incident and that there was no realistic case without her cooperation.
He was also afraid of what accusing another member of police staff could do to his own career. Shergill’s silence and Tom’s silence therefore became mutually useful, and their connection continued long after Marissa’s case disappeared from view.
Emma’s DNA Exposes Tom
Emma then remembers the clothes tested after Tom became a suspect. She asks the forensic team to examine them again, this time for her own DNA.
Because Emma and Tom had recently been physically close, her DNA should be present on the clothes he supposedly wore on the day Sophie died. It is not.
Tom had bought identical replacement clothes. That means the supposedly clean forensic result had never cleared him at all because investigators had been testing the wrong items.
Emma now understands the entire cover-up. Sophie showed Tom her evidence against Shergill, and Tom realized that exposing Shergill would also expose the fact that he had known about Marissa years earlier and stayed silent.
Tom began trying to discourage Sophie from coming forward. Sophie saw through him, left the car and attempted to call 999, but Tom followed her.
Their confrontation in Dankworth Forest ended with Sophie’s death. Tom then staged evidence supporting his Barton Drive story, replaced his clothing and relied on Shergill to alter the digital records placing him near the forest.
How Does The Blame Season 1 End?
Emma confronts Tom at his home after assembling the final pieces of the case. Tom admits that he knew Shergill had targeted Marissa and acknowledges that Sophie’s decision to expose him threatened everything Tom had spent years protecting.
He insists that he followed Sophie only because he wanted to talk her out of coming forward. Whatever his original intention, his actions led directly to her death, and Emma refuses to excuse what happened.
She arrests Tom. The decision closes the central mystery while also completing Emma’s own character arc, because she chooses the truth over the man she loves.
Elsewhere, Stevens and James are suspended and face serious consequences for their treatment of women at Wakestead. Walker finally hands over Sophie’s missing interview recording and promises that the station’s culture will change, while Kapil is also held responsible for planting the phone.
Shergill’s records are opened up so investigators can identify other victims. The finale makes clear that Sophie’s case was never simply about one dangerous man but about a system in which poor decisions, silence and professional self-protection repeatedly allowed serious misconduct to continue.
Frasier failed Sophie, Stevens and James failed her, Shergill targeted her, and Wakestead repeatedly gave harmful behavior room to survive. But the person directly responsible for Sophie’s death is Tom Radley, the detective who spent most of the season helping Emma search for himself.